Monday, July 16, 2012

Installing Drupal on Windows with PostGRESQL DB

The Downloads:

The system requirements for Drupal are given here. In short, download Apache, PHP (download BOTH the installer and the zip version), Post GRE SQL.
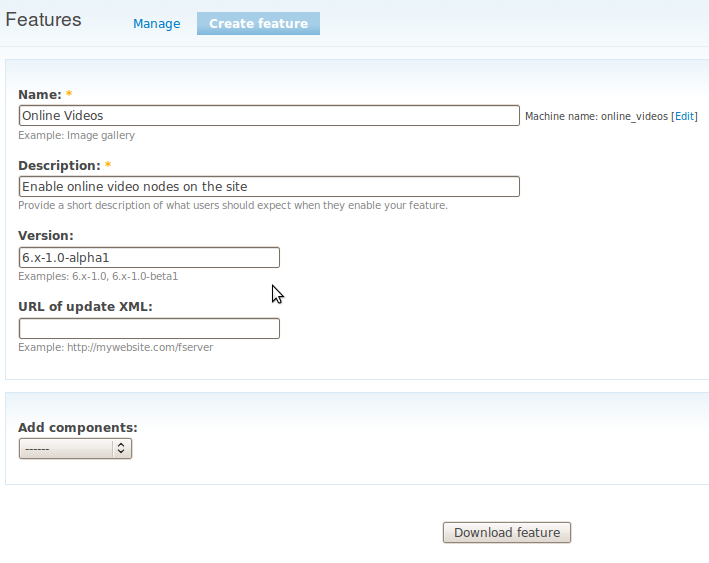
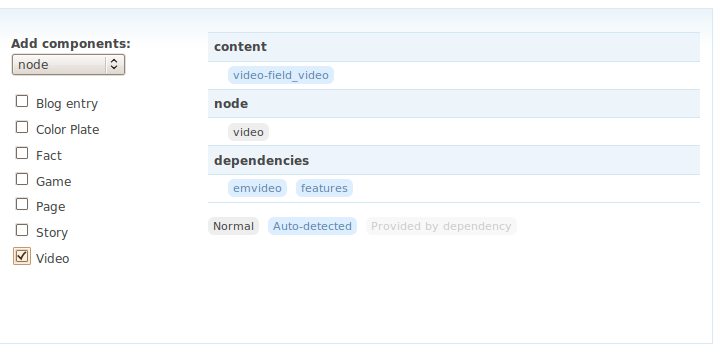
The Configuration:

The step-by-step instruction to install Drupal is given here and it's fairly intuitive.

The Gotchas:

There were a couple of things to watch out for:

1. PHP looks for the config file (php.ini) in C:\Windows (or the equivalent windows folder) by default and that file isn't automagically created. So we need to add the PHP installation folder path to the PATH variable. In my case, I added C:\Program Files (x86)\PHP to the PATH variable.

2. Drupal uses PDO (PHP Data Objects) to connect to a database and you should be having a PDO (which is usually a DLL) for each DB you intend to support. However, this DLL is not provided in the PHP installer; and even if you go around hunting for that DLL file in Google, you will hit nothing but road blocks. So after you install PHP using the installer, unzip the contents of the PHP zip version that you downloaded (to a different folder of course) and copy the php_pdo_pgsql.dll file from the ext folder (under the extracted PHP folder) to the actual ext folder (created by the windows installer). Then, the php.ini file needs to be updated to include the following lines:
[PHP_PDO_PGSQL]
extension=php_pdo_pgsql.dll

Once this is done and the apache server is (re)started, following the step-by-step Drupal installation instructions should do the magic.

Thursday, July 12, 2012

Drupal feature Module example

In this example we create an Online Videos feature. The site builder configured a lot in preparation of this feature we are currently not interested in.

Step 1. admin/build/features/export


As you can see we added a name, description and a version. Next step will be defining what this feature provides.

Step 2. Select features components.

From the "Add Components" dropdown we have to select the components the feature consists off. This is about a video node so we select "Node". From the checklist we only need the video node type.


The auto-detect functionality grabs the required building blocks node (video), content (video-field_video), modules (emvideo, features). Therefore, when we want to install the feature, we need to make sure we have installed the required modules.

Step 3. Download the feature.

When satisfied with all components, click the download button and save the tarball (in this case, online_videos-6.x-1.0-alpha1.tar.gz).

Step 4. Install and enable the feature.

Best thing to do is untar the file in your current project. As described above, features are not listed on the site/build/modules page even though they are technically modules. To keep them separate, you should consider putting all of your features in a separate directory — e.g., site/all/modules/custom/your-feature.


The feature now appears at admin/build/features. Checking the box next to the feature's name and saving page causes the features module to check for the current state all features.

Step 5. Visit admin/build/modules

When checking for the module online video module it's not there. Searching for the name would show you a dependency on online_video module. To disable such a module you have to disable the feature first.

Notes

  • We have said nothing about what drupal projects you need to install to be able to install our example feature.
  • If we had created a view this would be exported too. test it yourself.